


 +353 24 904 96

How do I install LED strip lights?

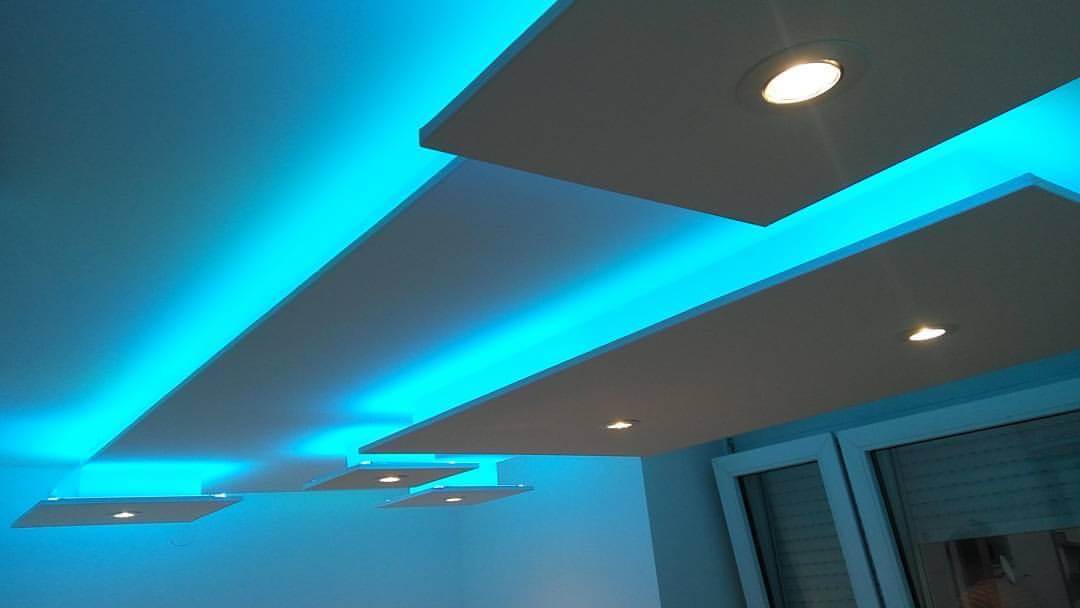
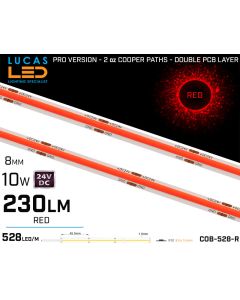
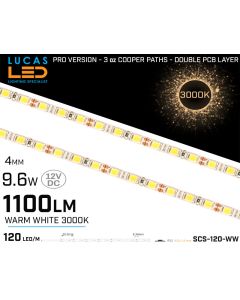
To install led strip lights successfully, you must understand the thermal requirements and electrical limitations of the led strip. While the process is often marketed as LED strips lights easy, a professional installation requires an aluminum LED profile to act as a heat sink, ensuring the leds maintain their light output and brightness over time.
Table of Contents
- Why is an aluminum profile necessary to install led strip lights?
- What are the technical benefits of using LED profiles with diffusers?
- How to install led strip lights in simple steps?
- How to ensure secure electrical connections and power supply?
- Technical Installation Table
- Summary: Achieving a polished lighting appearance
- FAQ
Why is an aluminum profile necessary to install led strip lights?
An aluminum profile is necessary because it dissipates the thermal energy generated by the led strip, preventing the leds from overheating and significantly extending their lifespan. Aluminum LED profiles are very good for the LED strips because they dispatch very nice the heat emitted by the LED strip which increase exponentially the lifespan of the LED strip.
Using LED profiles with our LED strip lights also have benefits like these:
We can find LED profiles in a lot of different designs (A,B,C..).
8 different types of diffusers that each of then give different effect of lighting.
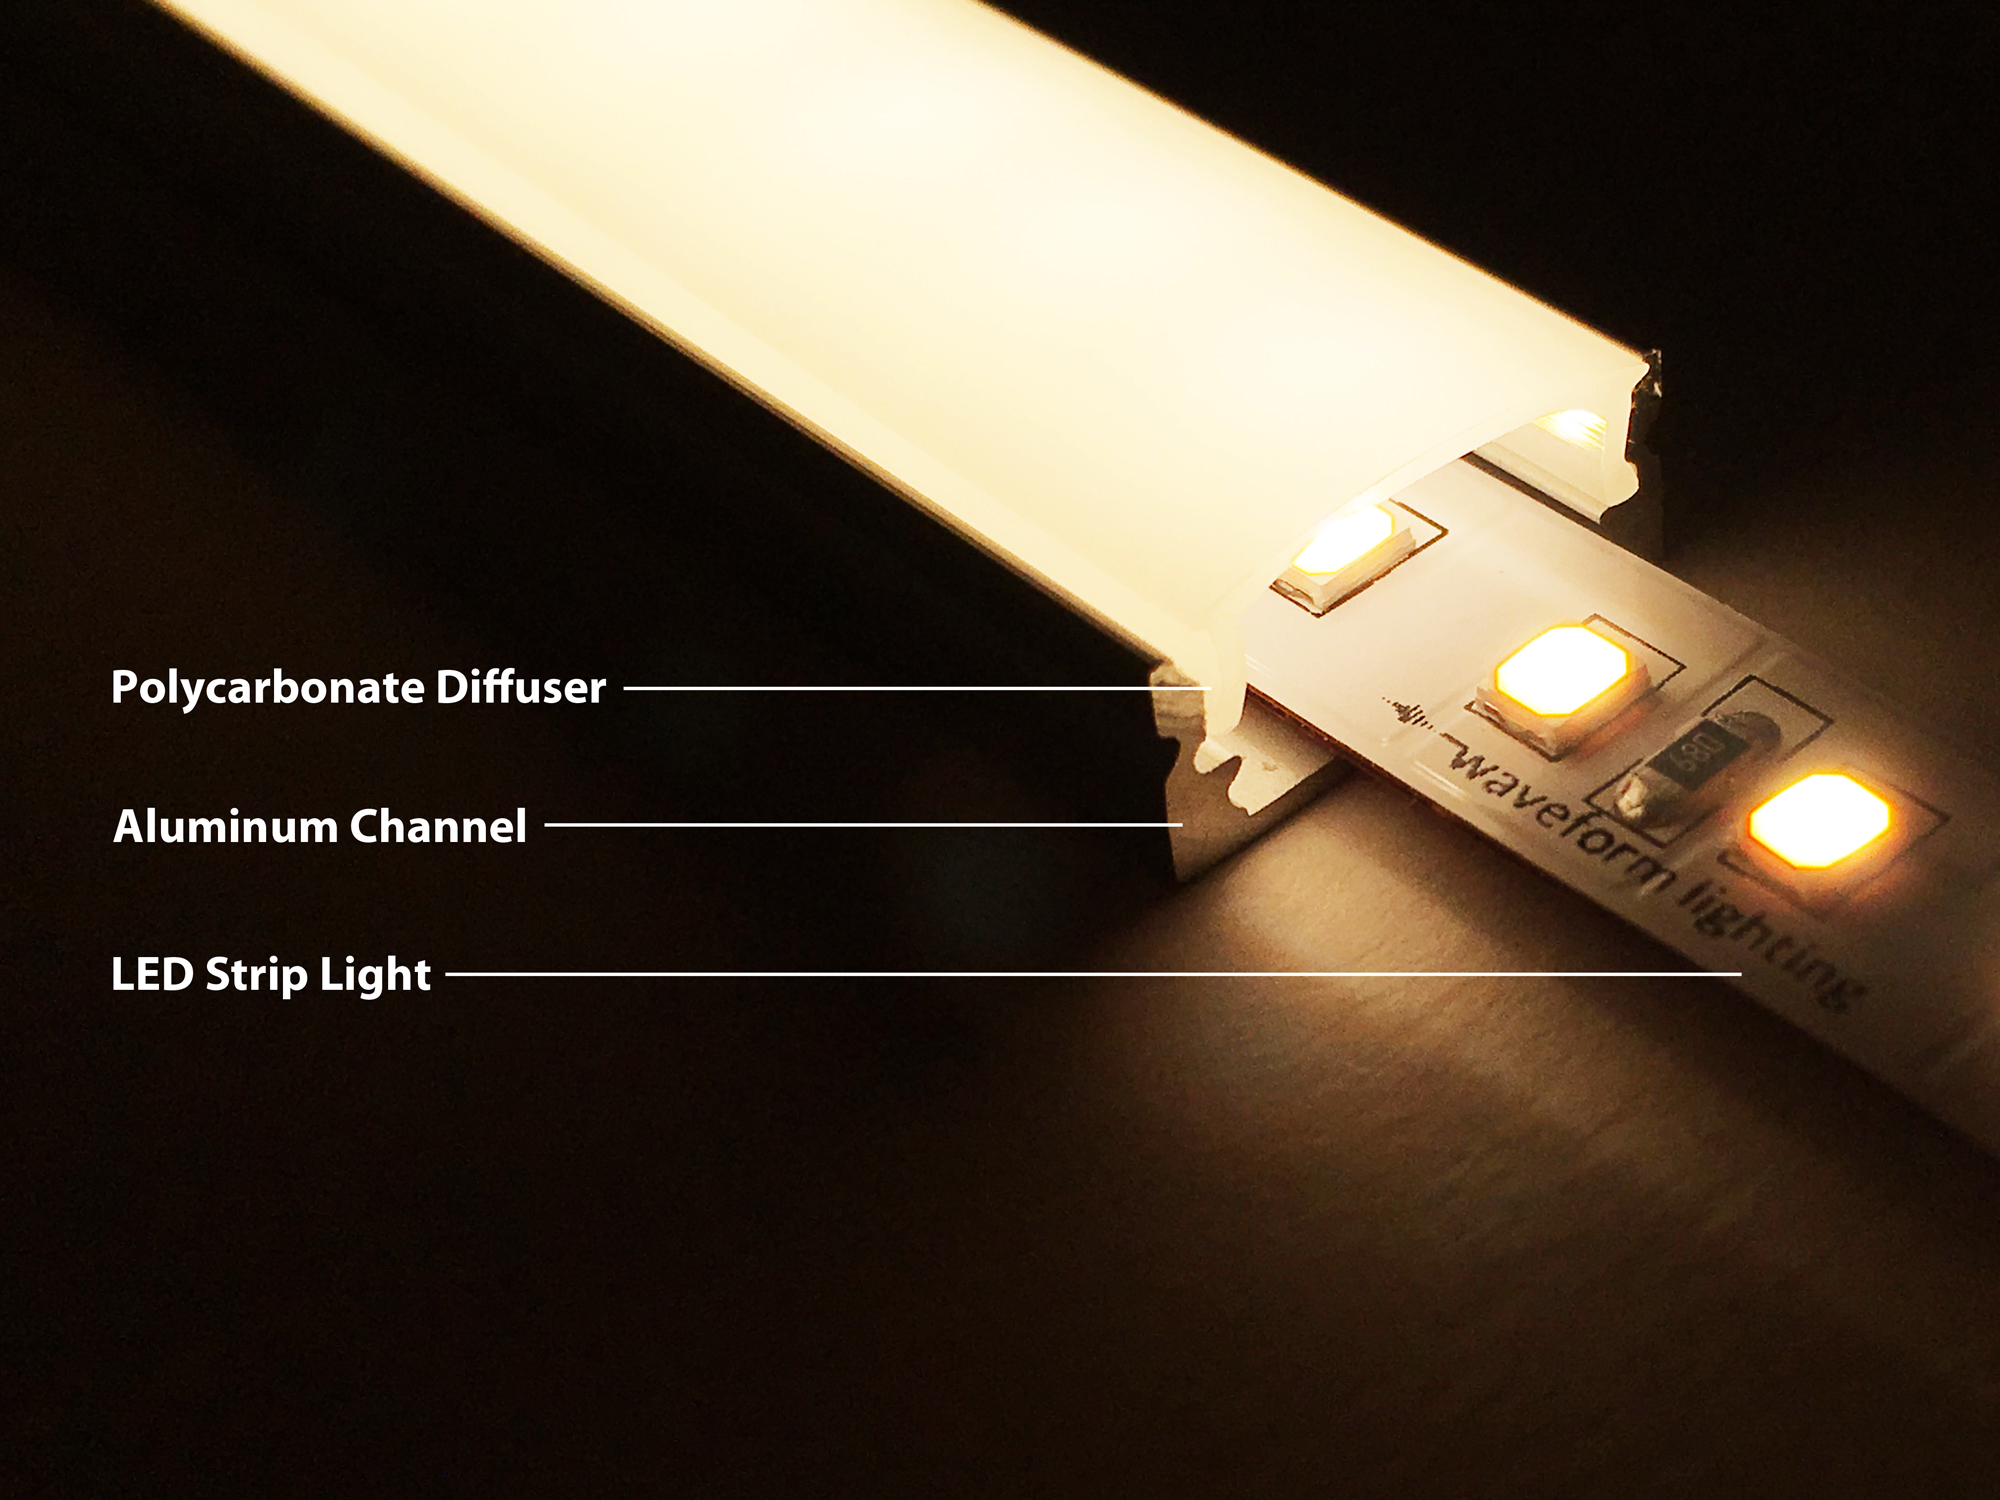
Plenty of colours for LED profiles: black, silver ,white, inox pearl gold...
More than 180 LED profiles models with different shape, design, wide, thickness, deepth, height...
What are the technical benefits of using LED profiles with diffusers?
Using LED profiles with diffusers allows you to customize the light distribution angle and eliminate "spotting" by creating a continuous, diffused line of light. This protection ensures that the light output remains consistent while the strip is shielded from dust and physical contact in a wall or ceiling location.
The variety of colour options like black or silver allows the light strips to blend seamlessly into any room. By choosing from over 180 LED profiles models, you can accurately match the thickness and height to your specific installation surface. This level of customization ensures that your ambient lighting project reaches a professional appearance.
How to install led strip lights in simple steps?
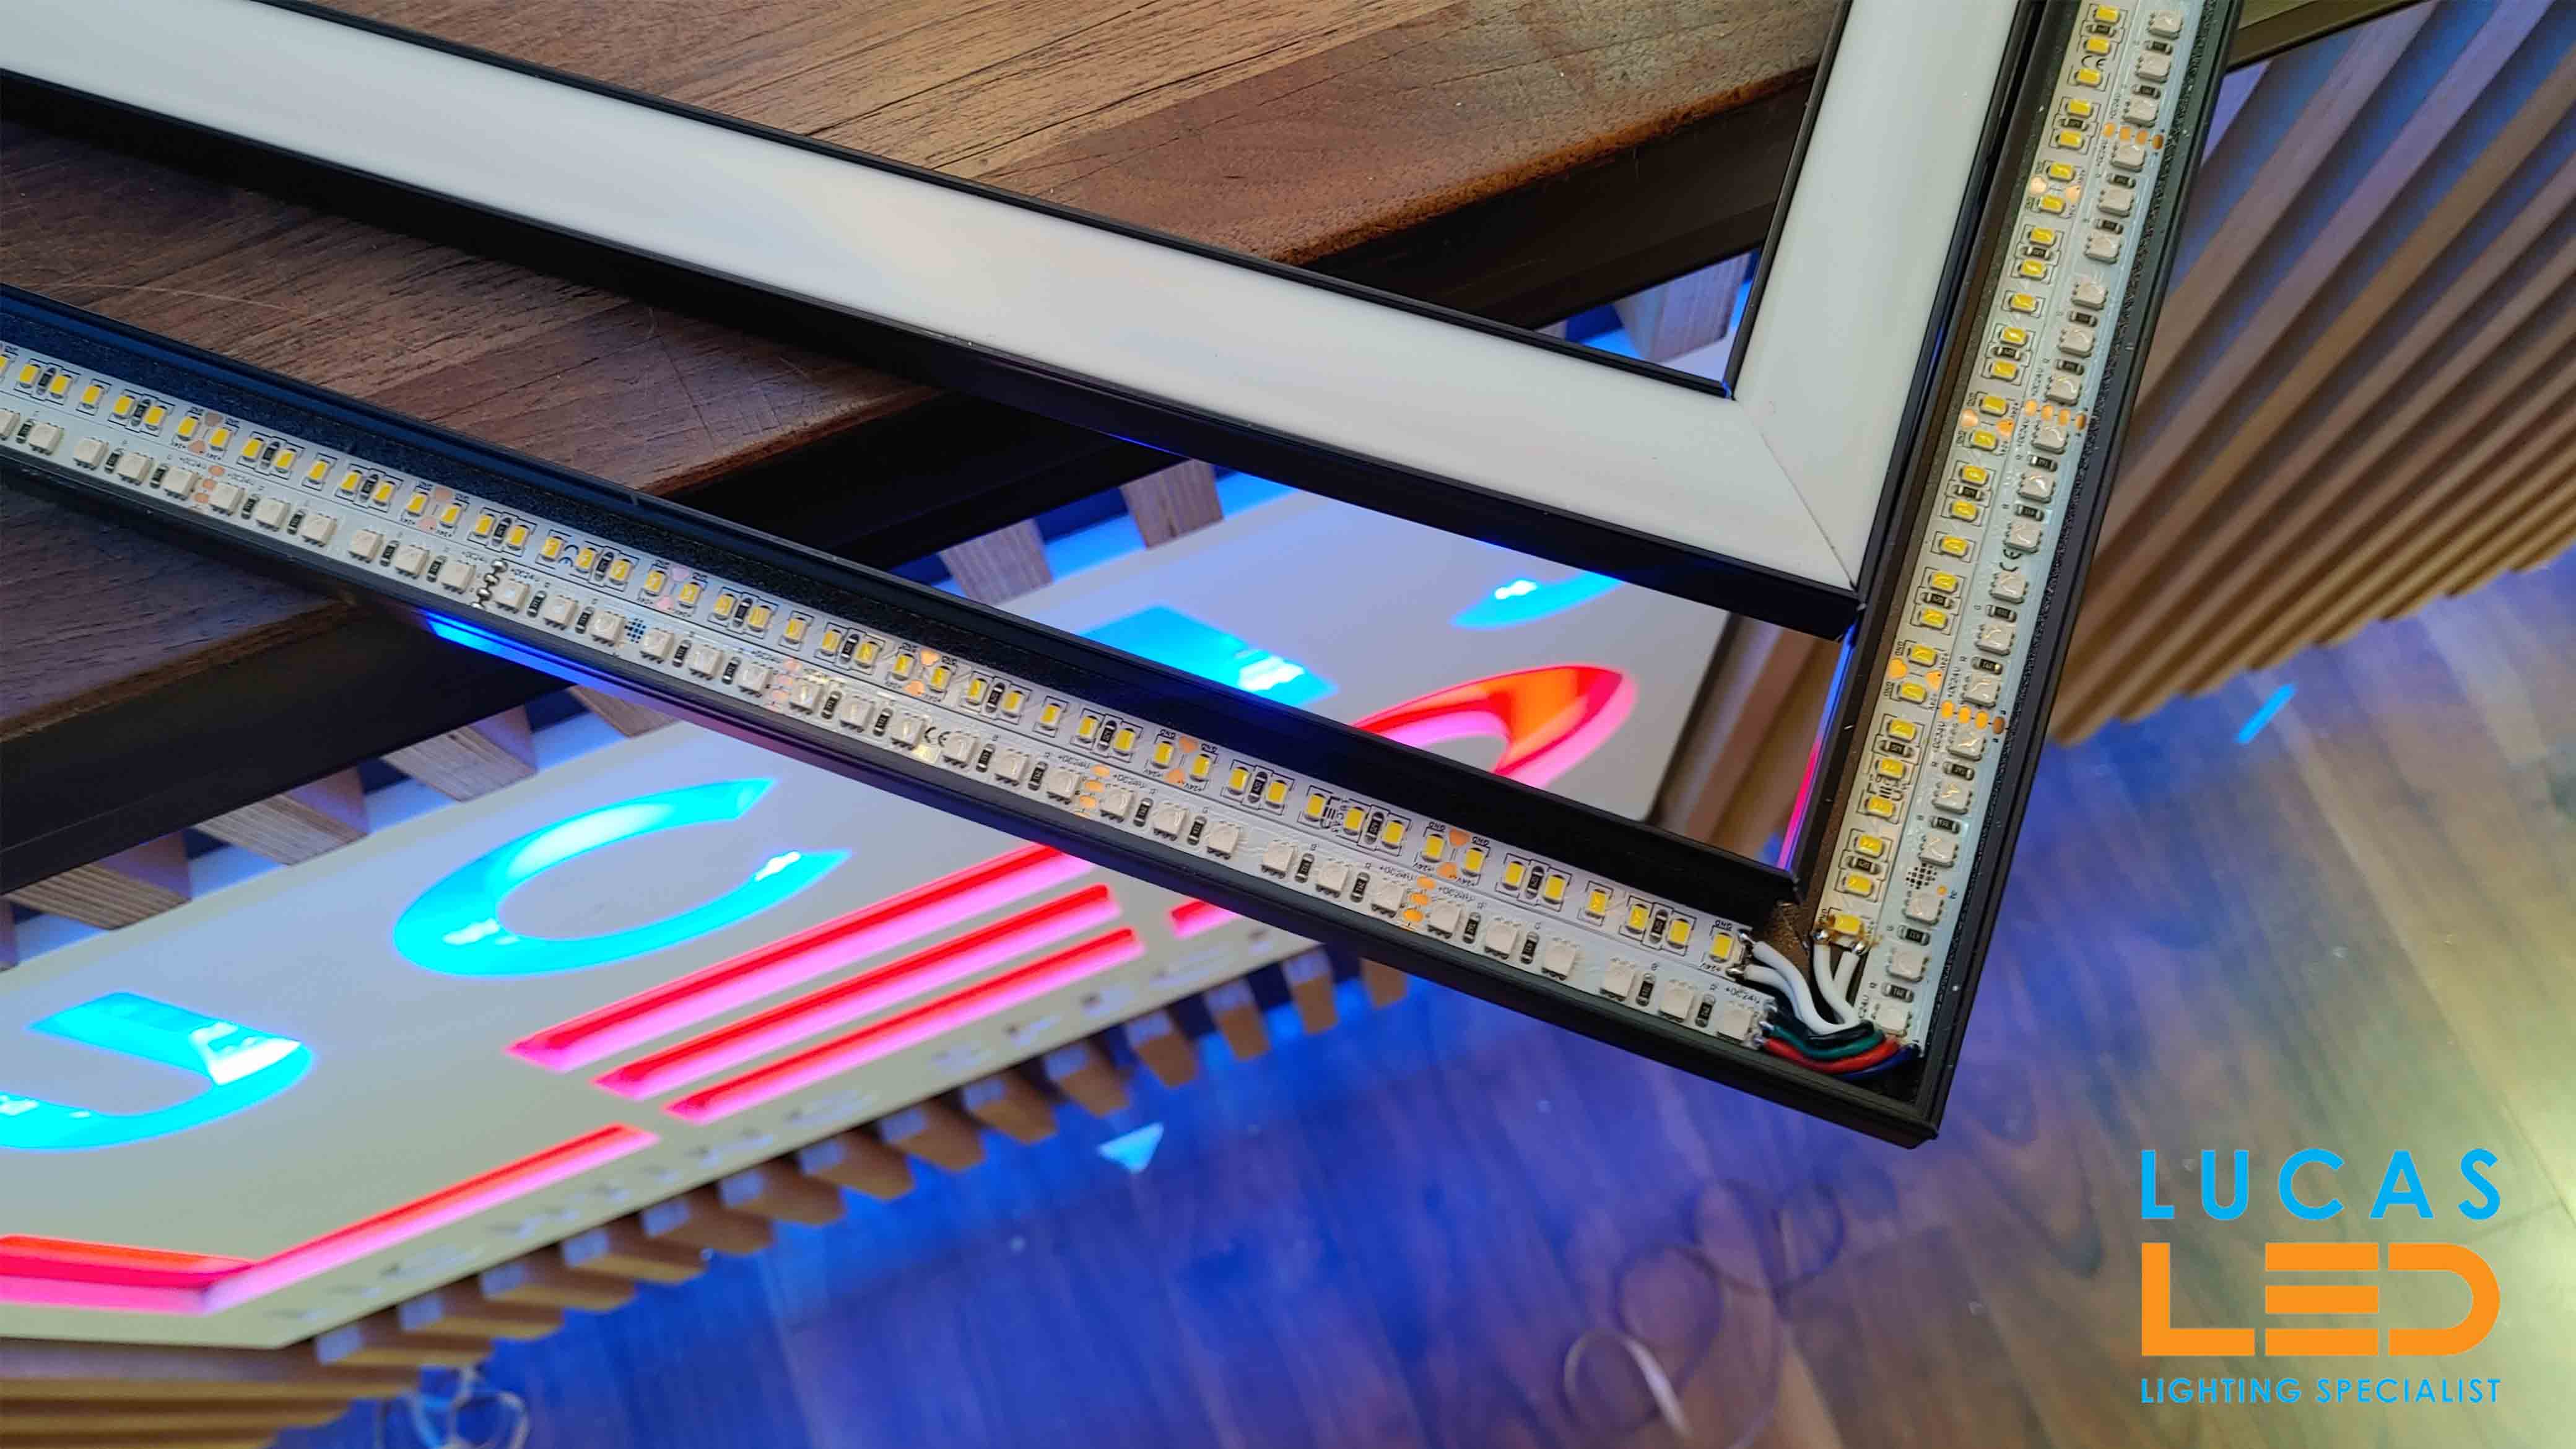
To install led strip lights, you must accurately measure the surface, cut the strip at designated cut lines, and secure it into a profile before testing the electrical circuit. Let's briefly explain the way to install a LED strip light with a LED profile:
Let's briefly explain the way to install a LED strip light with a LED profile:
- Choose the LED profile that you want to install
- Cut the LED strip to the same size that the LED profile.
- Attach the LED strip to the LED profile (you can use adhesive backing on the LED strip)
- Install the LED profile to the surface you want it.
- Connect the wires from the LED strip.
- Test the lights before finishing the installation.
- Cover the LED profile with a diffuser or lends to create a polished look and protect the LED strip.
How to ensure secure electrical connections and power supply?
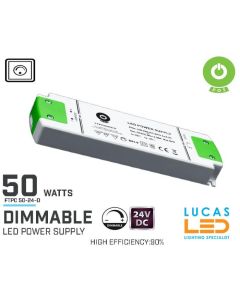
Ensuring secure connections requires using solderless connectors or proper soldering to the copper pads and matching the total wattage to a power supply with a 20% safety margin. You must double check that the power source voltage (12V or 24V) matches the led strip requirements to avoid a short circuit.
When you link multiple strips, be mindful of the total length to prevent voltage drop. Lay the cable slowly and avoid tight bends around corners. If the power cord is too short, avoid using a standard extension cord for permanent installation; instead, use a dedicated led light power supply. Always plug in and test the connections before you cover the profile to ensure colour consistency across the cabinets or stairs.
Technical Installation Table
|
Installation Step |
Technical Requirement |
Value/Tip |
|
Heat Dissipation |
Use Aluminum Profile |
Increases lifespan exponentially |
|
Cutting |
Use designated cut lines |
Every 2.5 - 10 cm |
|
Electrical |
Power source safety margin |
20% over total wattage |
|
Profiles |
Number of models available |
More than 180 LED profiles |
|
Diffusers |
Variety of effects |
8 different types of diffusers |
Summary: Achieving a polished lighting appearance
You can install LED strip lights with an LED profile and create a beautiful lighting feature in your house or business by following these simple instructions. To guarantee a secure and effective installation, just be sure to take your time and pay close attention to the manufacturer's instructions. By following these simple steps, you will create a durable and perfect light setup that enhances any space.
FAQ
How to install LED strip lights step by step?
Install led strip lights by first cutting the strip to size, sticking it into an aluminum profile via adhesive backing, and then connecting it to a power supply. Always test the lights before you cover the profile with a diffuser.
What are common mistakes with LED strip lights?
Common mistakes include not using an aluminum profile for heat dissipation, cutting outside designated cut lines, and overloading the power supply. These errors can shorten the led strip lights run significantly.
Do I need an electrician to install LED strip lights?
For simple steps involving plug-and-play kits, you do not; however, for larger installations involving mains power and hidden wires in a wall, hiring a professional is recommended for safety.
How to connect LED lights to power supply?
You can connect them using solderless connectors or by soldering wires directly to the copper pads. Link the positive and negative leads to the corresponding terminals on the power source and ensure the switch is off.
About the Author