


 +353 24 904 96

How to use LED light strips with remote?

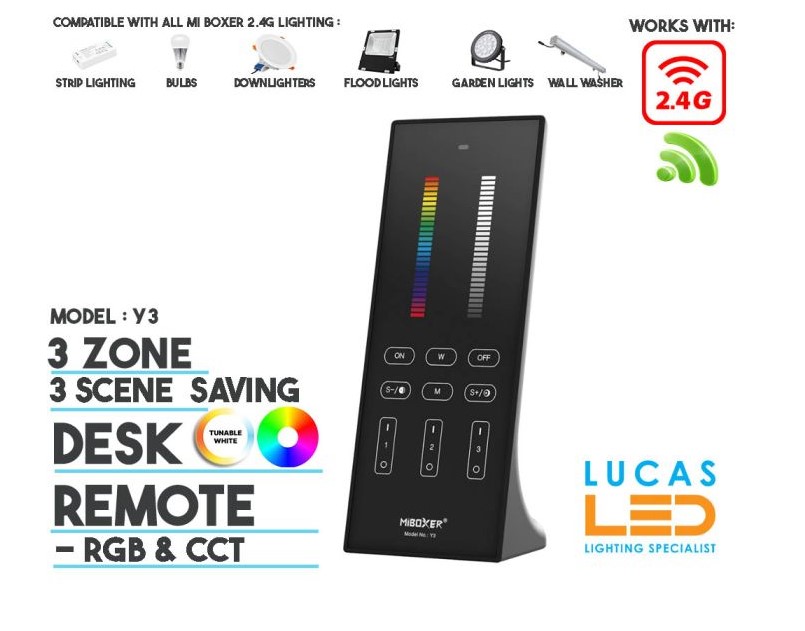
Although it might seem complicated at first glance, especially if you have a remote with many buttons, remote control of a LED strip lights (or several of them) is easier than you think. Sure, there are many models of remotes, but the basic principles stay the same. Here's a short, comprehensive guide on how to pair LED light remote and use it with your LED strip lights.
Table of Contents
- How to operate an LED remote controller?
- How to connect LED strip lights and pair them with a remote?
- Is remote control possible without a remote?
- LED strip lights - great customizable lighting
- Technical performance of LED controllers and remotes
- Summary: How to use LED strip lights with remote – Key takeaways
- FAQ
How to operate an LED remote controller?
Most of the remote controllers are shipped with a small plastic strip that disconnects the batteries - make sure to remove it before attempting to connect and operate the device.
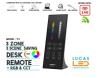
The principles of using any remote are the same - there are designated buttons for each supported function. So all you have to do is press the right one to achieve the desired effect. The remote allows you to easily control LED lights without needing direct access to the strip itself – ideal for smart homes and hard-to-reach places. But which button should you press? Let's take a look at some of the common features:
- On/Off - rather self-explanatory one. Often placed in the upper-right corner. This is your basic switch to power the lights.
- Play/Pause - pauses/resumes current mode.
- Brightness up/down - also self-explanatory. Can be placed on the face (sun symbols with up/down arrows) or sides of the remote. It allows you to adjust brightness for different lighting effects or ambient needs.
- Coloured buttons - used for static mode, allowing you to switch the light to a given colour. These are often replaced with a rotating dial/knob (or a touchpad) that allows fluid colour adjustments. This is especially useful for RGB LED lights that offer various types of colour combinations.
- Auto - turns on automatic switching between available modes.
- Quick/Slow - used for adjusting the speed of colour change. Can be replaced by +/- buttons on face or sides.
- Fade - dynamic gradient mode (fluid changes). The number on it refers to the number of colours in the loop, e.g., 3 or 7.
- Jump - jump mode that switches across a set number of colours, e.g., 3 or 7. Flash - switches on strobe mode for white light.
- Flash – switches on strobe mode for white LEDs.
Some remotes also have “DIY” and coloured (red, green, and blue) arrow buttons that allow you to program and save your own modes. To set a mode, simply press the desired DIY button and set the colours with long-pressing the arrows. When you're done, press that DIY button again to save that mode. This feature is useful for users who want full control and personalization of lighting effects.
How to connect LED strip lights and pair them with a remote?
If you want your LED strips lights to be remotely controlled, you should purchase a LED controller (receiver) and connect it between the power supply/transformer and the light strip (or a splitter if you want to connect LED lights from multiple strips to one transformer). Make sure the power supply offers compatibility with the voltage of your strip, usually 12V or 24V
When it's done, all you have to do is pair the controller and the remote. To accomplish that, simply long-press the button on the controller's surface until the diode on it lights up. Next, get the remote close to it and long-press the on/off button until the controller's light flashes. This is the key step in how to pair LED light remote and get full remote control of your setup. And that's it - yes, it's that easy. One remote can be used to control different brands of LED strips if they use the same frequency or compatible receivers.
If the remote doesn't work after that, try switching it on and off. If the problem persists, try switching the lights on and off, and then repairing the devices. This should do it in most cases. Make sure you're using the right controller and the original remote or a compatible replacement remote. If the remote still doesn't respond, try replacing the batteries. When this doesn't help, contact the after-sales service, as there's probably something wrong with your remote.
Is remote control possible without a remote?
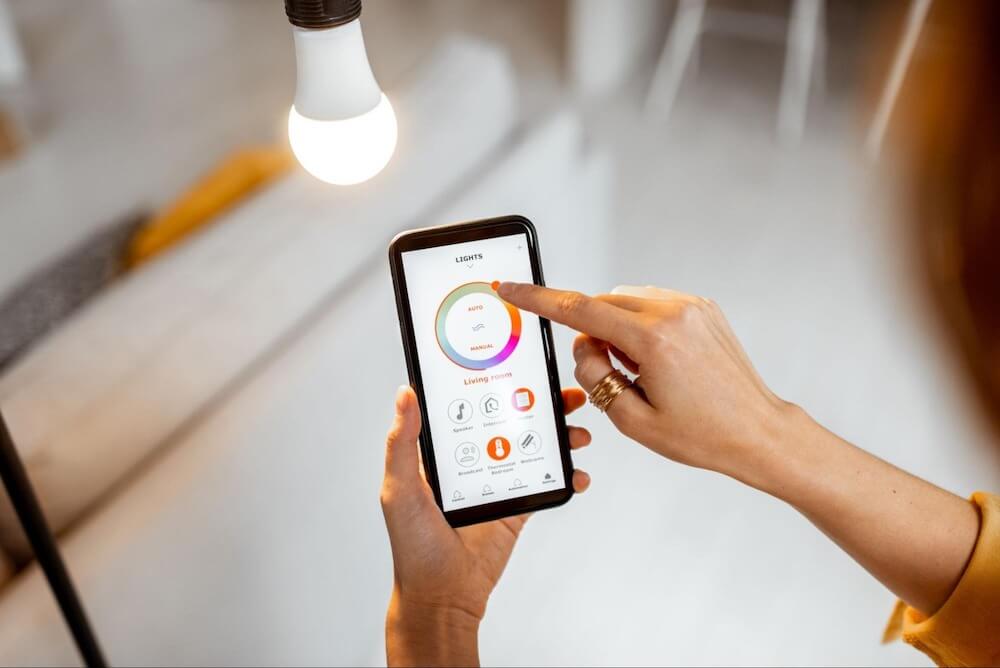
Yes, remote control is possible without a physical remote by using smart LED strips that connect to mobile apps or voice assistants. This method is perfect if you lose your led strip remote or want to integrate your led light strips into a larger smart home system.
Although you can buy LED light strips with a remote, you can also get them separately or the remote can get lost somewhere in the house. What then? If you get yourself a smart LED strip light, you can control it with any mobile device with a dedicated app (e.g., LampUX App). All you have to do is download it, register an account and pair the desired strip lights with it. This method is perfect for those who need a replacement remote or want to integrate lighting with smart home systems.
Many smart bulbs and RGB LED lights can also utilize voice control, e.g., via Google Assistant, Amazon Alexa, or Apple Siri. These smart speakers and voice assistants allow you to automatically turn lights on/off or change colours hands-free.
Some systems even allow integration with other smart devices such as motion sensors, TV remote, or home automation systems to trigger lighting based on ambient sounds or user presence. This creates the perfect ambiance for gaming, relaxing, or watching TV – all without a remote
LED strip lights - great customizable lighting
LED strips are a surprisingly flexible (both literally and figuratively) light source that can be used for various applications. It's easy to set up and control - just like a perfect light should be. From under-cabinet lighting to backlighting a TV, LED strip lights are a cost effective solution that offer energy efficiency and different lighting effects for every occasion.
They also offer various types of functionality – from colour-changing RGB LED lights to dimmable white LEDs, giving you total control. Whether you prefer using a remote, a smartphone, or voice assistants, LED strip lights offer compatibility with modern smart devices and ensure ease of use.
Technical performance of LED controllers and remotes
Modern LED remote controllers typically operate on a 2.4GHz RF frequency, which allows for a control range of up to 20–30 metres without needing a direct line of sight. When connecting multiple led strips, it is crucial to calculate the total current; for instance, a standard controller might support up to 6A per channel, meaning for a 12V system, it can handle up to 72W per channel. Using one remote to sync several receivers requires them to be within the same frequency range. Most led light strips remotes use CR2025 or CR2032 lithium batteries, which provide a service life of approximately 1 to 2 years under normal usage patterns. Ensuring your power supply has a 20% safety margin is essential to prevent signal interference and flickering during high-speed pairing mode operations.
Summary: How to use LED strip lights with remote – Key takeaways
- Make sure the power supply matches your LED strip's voltage (12V or 24V).
- Remove the battery blocker before using the remote.
- Use the correct buttons for brightness, static mode, fade, or jump mode.
- Pairing is easy – long-press on both the controller and remote.
- Smartphone apps and voice control work great without a remote.
- Compatible with smart speakers, smart bulbs, and other smart devices.
- A great, cost-effective solution for different lighting effects in any room.
FAQ
How to control LED with a remote?
To control led strips, point the led remote at the receiver (for IR) or be within range (for RF) and press the desired function button. Ensure the power supply is connected and the controller is properly wired to the led light strips.
How to use LED TV with a remote?
If you have led light strips as TV backlighting, you can often sync them with your TV remote or use the dedicated led strip remote to adjust brightness and colours to match the screen.
How do I sync my LED light remote?
You can sync it by putting the controller into pairing mode. Usually, this involves holding a button on the receiver and then pressing the "On" or "Match" button on the led remote until the lights flash.
How do the buttons on a remote control work?
Each button sends a specific frequency signal to the led remote receiver. The controller interprets this signal to change the voltage or PWM (Pulse Width Modulation) sent to the led strips, which changes the colour or brightness.
How to put LED light into pairing mode?
Most led strips enter pairing mode when you long-press the "Match" or "ID" button on the controller. In some smart models, you may need to turn the led light on and off three times rapidly until the strip starts flashing.
Why is my LED light not responding to the remote?
Common reasons include a depleted battery, being out of range, or an obstruction blocking the IR sensor. Also, check if the power supply is providing the correct voltage (12V/24V) and ensure the receiver is properly connected to the led light strips.
How do you reset your LED light remote?
To reset your led remote, remove the batteries for 30 seconds and then put them back in. For the controller/receiver, you can usually perform a factory reset by holding the pairing button for 10 seconds while the power supply is connected.
How to pair a LED TV remote?
To pair a remote with a led light TV backlight system, ensure both devices use the same RF frequency. Enter the pairing mode on the receiver and press the "Power" or "OK" button on the new remote until the light confirms the link with a flash.
About the Author